scroll down for english
Bienvenidos a mi primer post! espero verlas cada semana aquí compartiendo conmigo nuevas ideas.!
Para darles la bienvenida he decidido empezar con la receta de una deliciosa mermelada 100% natural.
Cuando me mudé a Viena hace algunos años una de las cosas que me llamó la atención fue la increíble variedad de dulces que consumen, empezando con la famosa Sacher Torte (una tarta de chocolate con cobertura de chocolate no apta para una dieta) y terminando con, sí adivinaste; mermelada.
Quizá no todos los Alemanes o Austríacos hagan mermelada pero durante los meses de Junio, Julio y Agosto es común encontrar en las tiendas los frascos y etiquetas para hacerla o incluso los campos donde recoger frutas, como bayas.
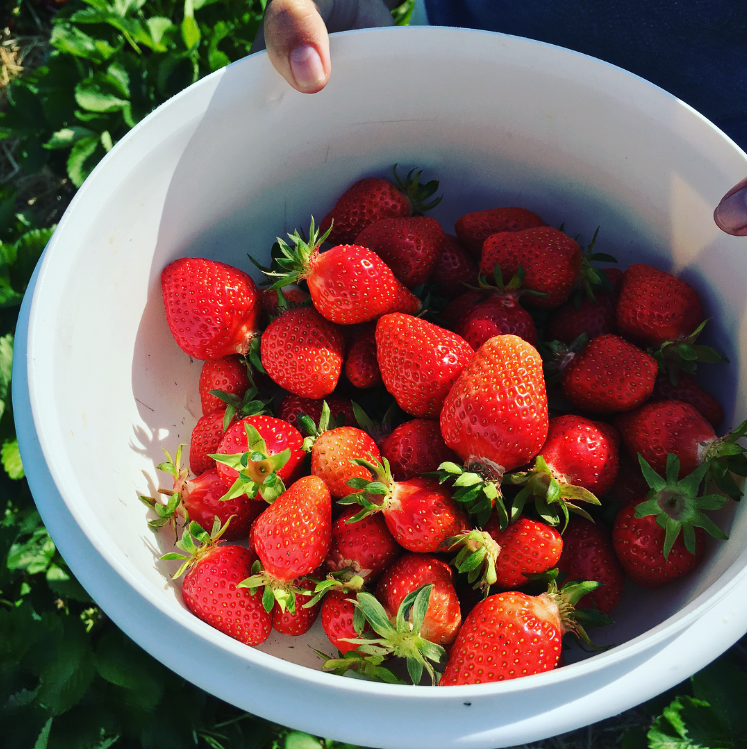
Este año, mi esposo M y yo fuimos fuimos a recoger unas fresas y he dado con esta versión de la receta original que es tan fácil como decir, ya!
Así que toma lápiz y papel para que me acompañes mientras comparto con ustedes esta irresistible mermelada casera!
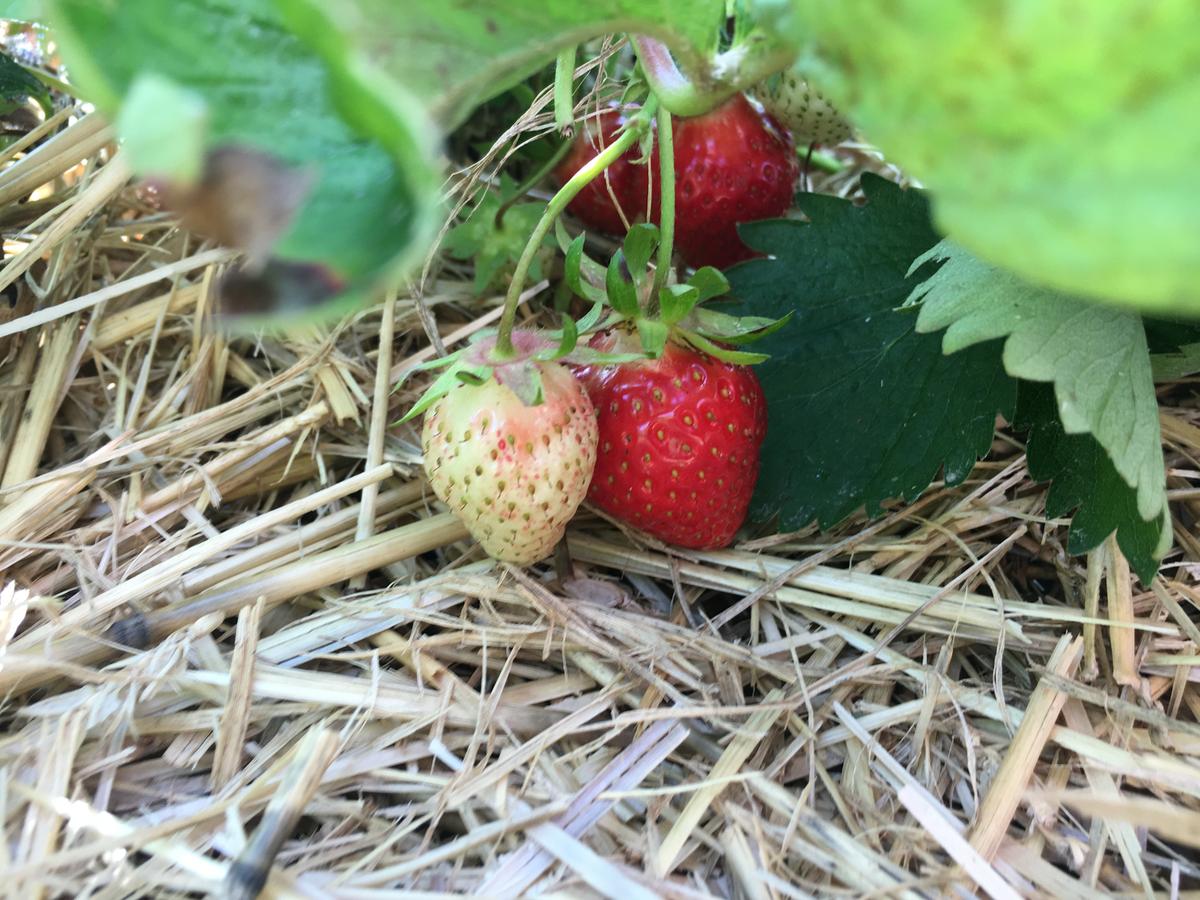
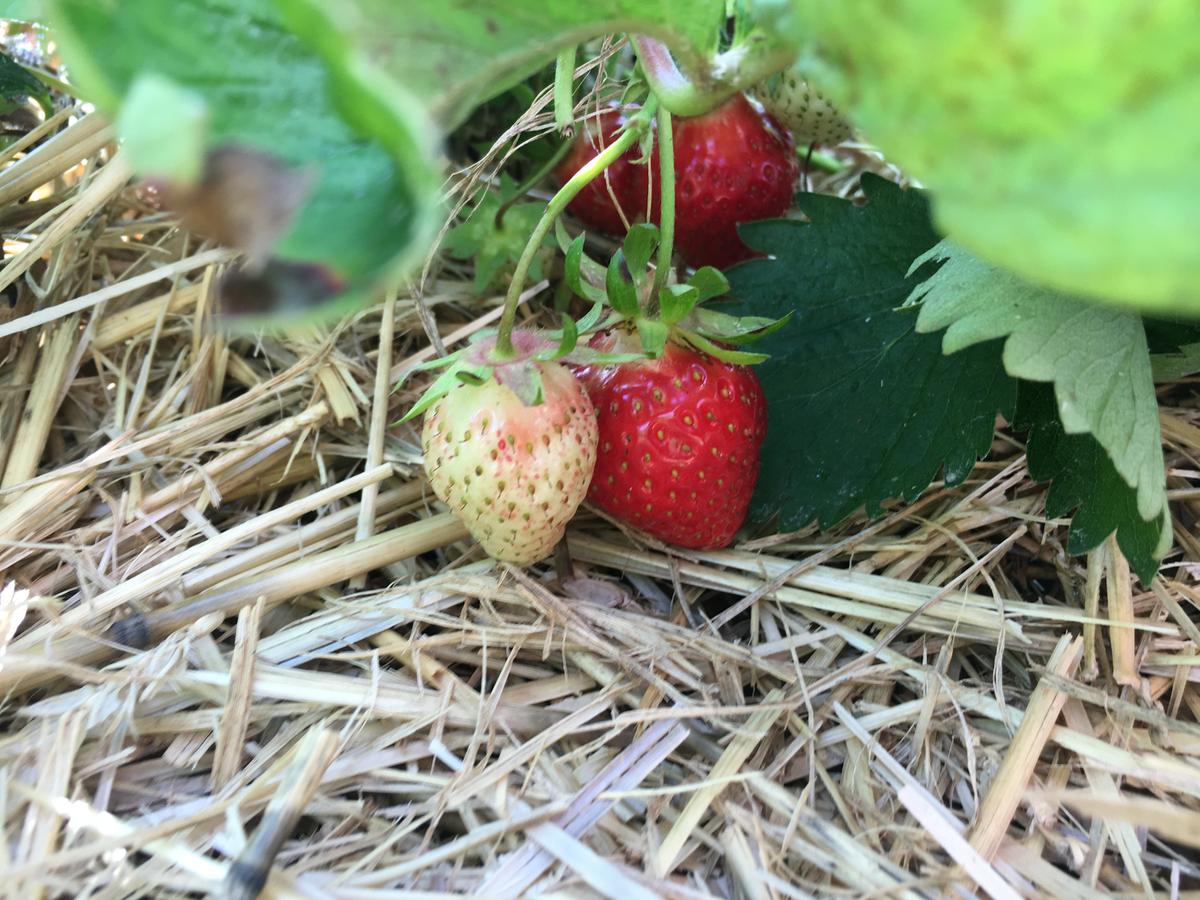
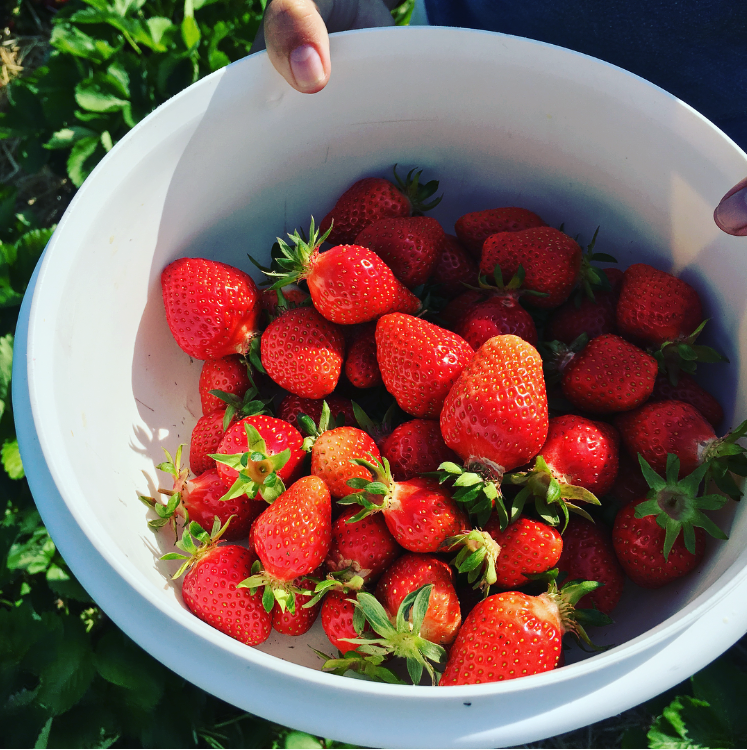
Durante los meses de verano en Alemania es fácil encontrar campos en donde recoger fresas!
Necesitas para un lote de 6 frascos de 160 ml cada uno:
900 gramos de fruta, puede ser desde piña hasta albaricoques, preferentemente de frutas que sean jugosas. En esta ocasión he usado fresas, pero puedes utilizar cualquier otra que desees
4 tazas de azúcar (200 gr =una taza de azúcar) tenga en cuenta que si está utilizando un sabor más amargo frutas como las naranjas se necesitaría un taza de azúcar extra.
¼ de taza de jugo de limón
½ cucharada de mantequilla orgánica (dejála reposar afuera del refri para que este suave a la hora de usarla!)
Opcional: Pectina
Nota: la pectina es una sustancia que puede venir liquida o en polvo y le dará a la mermelada una consistencia firme y es completamente opcional. Si decides usarla, lee cuidadosamente las instrucciones para saber cuánto de la proporción del producto se puede agregar a la mezcla de la mermelada.
Manos a la obra:
Antes de comenzar, asegúrate que la tarros esten esterilizados colocándolos a hervir en una olla con agua por alrededor de 10 minutos.
Lava las frutas, pélalas y sácales las semillas si son muy grandes como mangos, naranjas y duraznos pícalas en trozos pequeños. No necesitas hacer esto si usas bayas pero un buen lavado siempre es bueno.
Una vez que las frutas esten limpias, presiona los trozos como para hacer una especie de puré, durante 1-2 minutos, de esta manera tendrás una mermelada con trozos de fruta. Si lo que buscas es una contextura más suave, continúa presionando de 2 a 3 minutos más.
Coloque la fruta en una olla, agrega el jugo de limón y la mantequilla mientras mezclas suavemente con una cuchara.
Ponla a cocinar a fuego alto y sigue usando la cuchara para evitar que la fruta se pegue a la olla. Debido al calor, la fruta irá perdiendo sus jugos y estos a su vez evitarán que se queme, aún así no dejes la mezcla desatendida.
Una vez que el fruto se ha vuelto más suave, agregar el azúcar e incorporarla mezclando constantemente. Es importante que el azúcar se disuelva completamente. Bajo el fuego y dejar cocinar a la temperatura mínima de 5 a 20 minutos, te darás cuenta de cómo los cambios en una consistencia gruesa, una especie de mezcla de jarabe.
Baja el fuego y dejar cocinar a fuego bajo de 5 a 20 minutos, te darás cuenta cómo cambia la consistencia y se vuele más espesa, parecidaa un jarabe. Algunas frutas podrían tomar más tiempo para llegar a este punto así que chequea constantemente y tan pronto como espece un poco, baja la mezcla del fuego.
Usa una cuchara para remover la espuma que se haya formado en la superficie procura desechar la mayor cantidad de ésta pues podría dañar la mermelada. es mucho mejor hacer esto al terminar la cocción y no durante varias veces mientras está la olla alfuego, así evitas desperdiciar.
Llenar los frascos con la mermelada asegúrate de dejar un espacio de 3mm en la parte superior de éste que nos permitirá envasarla al vacío y así conservarla más tiempo.
Como sellar los frascos:
Una vez que hayas llenado los frascos y mientras todavía están calientes, pon los frascos en una olla con agua y deja hervir por 10 minutos. Despúes sácalos y dejarlos reposar sobre una toalla 24 horas, lejos del frio.
Y ahí la tienes! Mermelada hecha en casa para compartir con tus seres queridos.
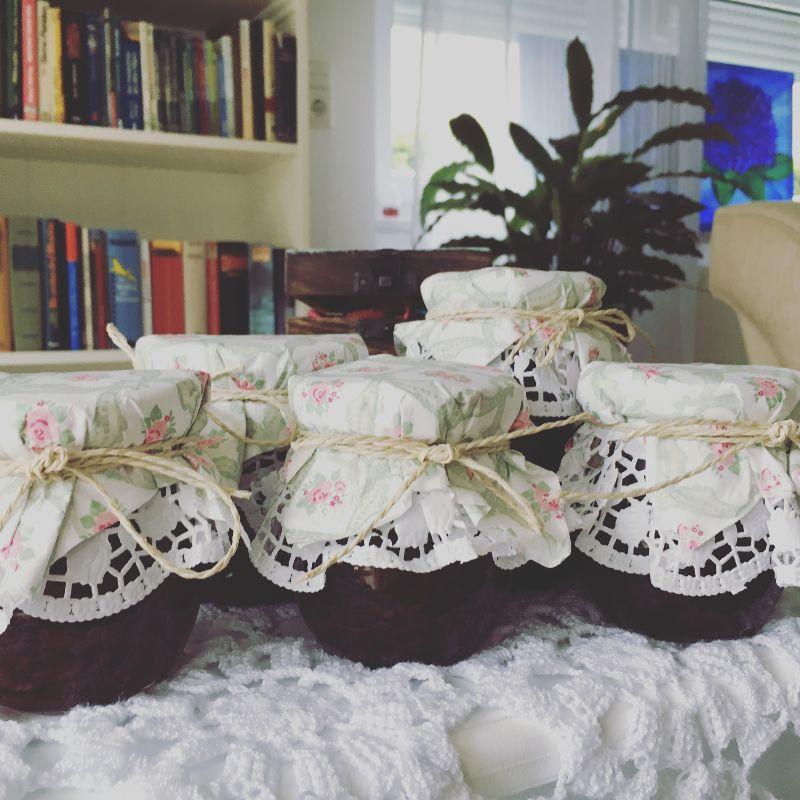
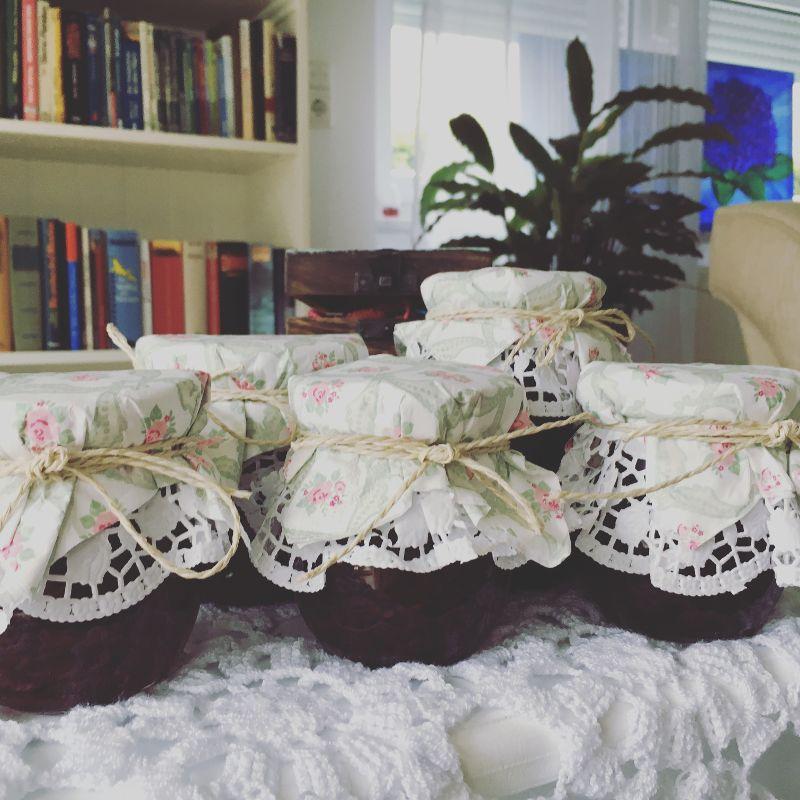
Para ese toque rústico he usado doilies de pastel, servilletas de papel y una cabuyita
Para decorar la mermelada he puesto sobre la tapa un doily para pastel, lo he cubierto con una servilleta y atado con una cabuyita.
Espero te guste!
Saludos,
Lina
English Version
Welcome to my first post I hope to see you every week here sharing with me new ideas.!
To welcome you, I’ve decided to start with the recipe from a delicious 100% natural Jam.
It all started when I moved to Vienna some years ago. One of the things that caught my attention was the awesome variety of sweets that they consume, starting with the famous Sacher Torte (A chocolate cake with chocolate cover no ideal for a diet) and ending with, yes you guessed; Jam.
Perhaps not all of the Austrians or Germans make Jam but during June, July and August it is common to find in shops the jars and labels to do it or even fields where to pick up fruits, like berries.
This year, my husband M and I went went to pick up some strawberries and I came out with this version of the original recipe that it is as easy as saying jam !
So grab pen and paper to join me while I share with you this irresistible Homemade Jam!
During the summer months in Germany it’s easy to find where to pick up strawberries!
Here is what you will need for a batch of 6 jars of 160 ml each:
900 grams of fruit you can use from pineapple to apricots, preferably fruits that are juicy. I used Strawberries but you can use any other you want.
4 cups of sugar (200 gr =a cup of sugar) keep in mind that if you are using a more bitter taste fruit like oranges you would need an extra cup of sugar.
¼ cup of lemon Juice
½ spoon of soft bio (Organic) butter
Optional; Pectin
Note: Pectin will add to your jam a firm consistence, you can always choose whether to use it or not if you choose to use it, please read carefully the instructions to know how much of proportion of the product you be can add to the jam.
Procedure:
Before starting make sure that your jars are sterilized, by placing them in a pot with bowling water for around 10 minutes.
Wash the fruit, peel it, take out the seeds and chop it into small pieces. You do not need to this with berries but a good wash is always good.
Once your fruit is clean, press the pieces a little with a potato masher for 1-2 minutes, like this you will have a jam with fruit pieces in it. If what you are looking for is a smoother Jam continue pressing from 2 to 3 minutes more.
Place the complete fruit in a cooking pot, add the lemon juice and the butter while gently mixing with a spoon.
Set over a high heat and cook, keep using the spoon to avoid it sticks to the pot. The juices of the fruit will prevent it to burn but do not leave it unattended.
When the fruit has become softer, add the sugar and incorporate it by mixing it constantly. It is important that the sugar dissolves completely.
Low the fire and let it cook at the minimum temperature from 5 to 20 minutes you will notice how the consistence changes into a thicker, kind of syrup mixture. Some fruits might take longer to reach this point so keep an eye on it and as soon as it becomes a little thicker take it out of the fire.
Use a spoon to skim any scum that has risen to the surface and discard this. Do this only once at the end, rather than constantly during the boiling stage, to reduce wastage.
Fill the Jars with the Jam, be sure to leave a 3mm space in the above part of the jar (this will allow us to seal the Jam and keep it for longer)
How to seal them:
Once you have the jars fill and while they are still warm, put them in a cooking pot and cover them with water. Set over high heat and let them boil for 10 minutes.
Once the 10 minutes are over, take them out and let them rest over a towel for 24 hours away from the cold.
and here you go! Homemade Jam to share with your beloved ones.
I used a paper napkin, a cake dolie and some string to give them that homemade look!
To decorate them I placed a small cake doilie over the lid and covered it with a paper napkin to finish I tighted them with some fique string.
I hope you like them!
Regards,
Lina.
